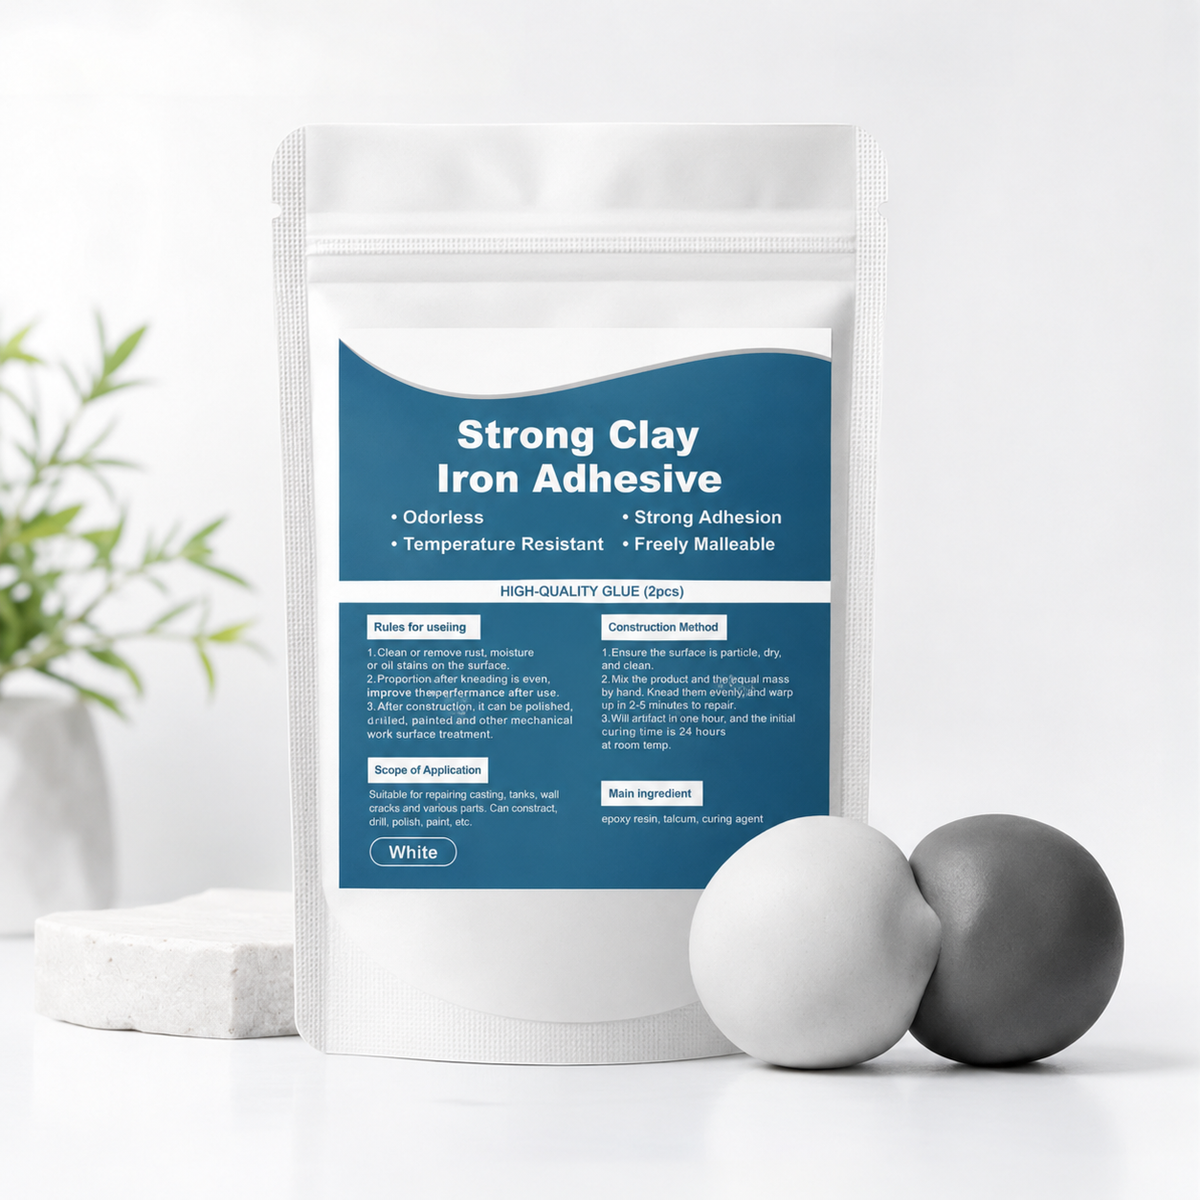
Steel Reinforced Epoxy Repair Putty for Metal Wood Concrete and PVC🛒
Steel Reinforced Epoxy Repair Putty for Metal Wood Concrete and PVC🛒
Couldn't load pickup availability

Steel Reinforced Epoxy Repair Putty for Metal Wood Concrete and PVC🛒
Repair Everyday Damage Before You Replace It
From cracked furniture and chipped corners to damp gaps and broken household surfaces, this moldable two-part repair putty gives you a simple way to fill, shape and reinforce damaged areas.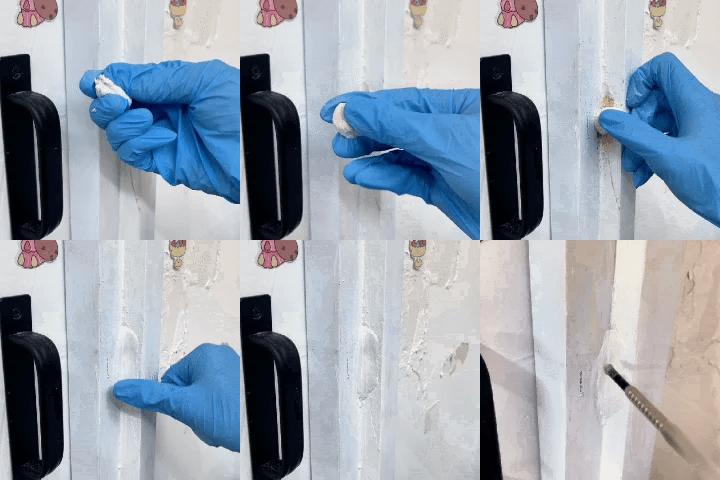
Strong Repair Without Welding Tools
A cracked joint or broken connection does not always mean the entire item needs to be replaced. Once mixed and cured, the putty creates a firm repair that helps reinforce damaged areas without welding equipment or complicated tools.

Helps Seal Damp Cracks & Moisture-Prone Areas
Cracks around utility areas, bathrooms and other damp spaces can become more troublesome when moisture gets inside. After fully curing, the repair putty forms a water-resistant barrier that helps seal and reinforce the damaged area.

Shape It To Fit Chips, Corners & Uneven Damage
Flat tape and runny liquid adhesives can be difficult to use on missing corners or irregular breaks. The putty can be pressed, pinched and shaped by hand so it conforms directly to the damaged area before curing.

Hardens Into A Firm, Durable Repair
The mixed material is moldable while you work with it, then becomes firm as it cures. This makes it useful for reinforcing cracked furniture joints, broken edges and other areas that need more than a temporary surface cover.

Small Damage Shouldn’t Always Mean Buying Something New
A chipped table, cracked furniture joint or damaged household surface may only need a small repair. Fill the damaged area, reshape what is missing and let the repair cure.
Mix, Knead & Apply By Hand
The two components are designed for straightforward DIY use. Take equal amounts of the white and gray material, knead them together until evenly mixed, then press and shape the putty directly onto the prepared repair area.

One Repair Putty For Everyday Fixes Around The Home
Keep it nearby for those small repair jobs that appear on furniture, walls, household fixtures and other commonly damaged surfaces.
How To Use In 4 Simple Steps
Proper surface preparation and thorough mixing help create a better repair. Follow these four simple steps before allowing the putty to fully cure.

Fix The Damage. Keep What You Already Have.
A practical repair solution for cracked joints, chipped furniture, uneven gaps and small damaged areas around the home.
Frequently Asked Questions
Common questions before using your repair putty.
What surfaces can I use it on?
It can be used for many common repair projects involving metal, wood, PVC/plastic, ceramic, tile and similar suitable surfaces. Clean the area thoroughly before application.
Can I use it to repair chipped furniture?
Yes. Because the putty can be molded before curing, it is useful for filling chipped corners, missing edges, cracks and damaged areas on many furniture surfaces.
Can it fill holes and irregular gaps?
Yes. The moldable texture allows you to press the material into holes, uneven gaps, corners and irregular shapes before smoothing it into the desired form.
Is it water resistant after curing?
Once properly mixed and fully cured, the repair putty is designed to resist moisture, making it suitable for many damp or moisture-prone repair areas.
Do I need special tools or welding equipment?
No welding equipment is required. For many small repairs, simply prepare the surface, mix equal portions of the two components, knead them together and press the material into place.
How do I prepare the surface before using it?
Remove dust, dirt, grease, loose paint, rust and other loose material first. The repair surface should be clean and as dry as possible before application.
How do I mix the two parts?
Take approximately equal amounts of the white and gray components and knead them together thoroughly until the material is evenly blended before applying it.
How long should I let the repair cure?
Allow the repaired area to remain undisturbed while curing. Initial curing takes about 1 hour, while approximately 24 hours should be allowed for a full cure before placing the area under normal stress.
Can I reshape it after it has hardened?
The easiest time to press, smooth and shape the repair is immediately after mixing and application. Once fully cured, the material becomes firm, so complete your shaping before it hardens.